Discovering cracks in the ceiling – whether we’re talking about small or large cracks – is definitely a cause for major concern. Not only do they look highly unappealing, but they can also pose a serious threat to one’s home.
In most cases, a ceiling crack will be relatively easy to fix. However, some types of them aren’t that easy to repair and can become a more extensive problem. The factors that decide how serious a particular ceiling crack is are its type, size, and location.
There are six types of ceiling cracks in total, and, in most cases, they will be caused by poor workmanship, normal foundation settlement, or just structural damage. They are as follows:
- Deep and large cracks accompanied by bowing
- Cracks between the ceiling and the wall
- Straight cracks
- Spiderweb cracks
- Brown or yellow cracks
- Hairline cracks
In this article, I will tell you all that’s important about these types of ceiling cracks – how to fix them, what are the things that cause them, as well as how to know when a particular ceiling crack is dangerous and has to be repaired by an experienced foundation professional.
Contents
What Exactly Causes Ceiling Cracks?
In most cases, ceiling cracks will be caused by one of the two following things:
- Structural damage
- Natural foundation settling, which occurs as the building ages
However, a lot of ceiling cracks are also caused by inadequate drywall installation and generally poor workmanship.
With this in mind, let’s take a closer look at some of the most common culprits behind cracks in the ceiling:
Foundation Problems
Sometimes, multiple cracks in the ceiling are an indication of serious structural damage.
As I mentioned above, ceiling cracks are often caused by natural foundation settlement. As it ages, a building experiences all sorts of inevitable wear and tear – and this includes foundation settling – which puts too much weight on its frame.
When this kind of structural damage causes the appearance of ceiling cracks, it is highly important to recognize warning signs and repair the cracks as soon as possible. By fixing such issues, you will significantly increase the value of your property.
A Heavy Floor Above the Ceiling
One other thing that could cause you to have these kinds of problems is when the ceiling doesn’t have adequate support to compensate for the floor that is situated right above it.
The cracks occurring due to this issue typically do so in the room that is located below a bathroom. That’s because the bathrooms are often full of items such as shower enclosures and bathtubs, which are quite heavy and can create cracks.
Also, the attic that is located right above a cracked ceiling may contain some very heavy items.
A Drywall Problem
In case your drywall was not installed in an adequate way, a few cracks may appear on it. Fortunately, however, the cracks in ceiling drywall are rarely something you really need to worry about.
This usually happens due to drywall joints being taped incorrectly. To put it simply, the person who was taping each drywall joint didn’t utilize enough drywall mud.
The purpose of drywall mud is to make the tape stick well. The drywall will start to crack as the tape comes loose.
The Age of Your Home
As time goes by, normal wear and tear are simply unavoidable – your home is bound to experience some of it.
The aforementioned foundation settling takes place as the building ages, and its direct consequence is often cracking in the walls, floor, and ceiling.
Moisture Damage
Regardless of whether it’s coming from a floor that’s situated right above the crack or from the roof, moisture is one of the most common causes behind ceiling cracks.
If you live in an area that often experiences rough weather conditions, a storm that brings a substantial amount of rain can cause you to have some sort of a plumbing leak which, if it takes place on the first floor of the building, can lead to ceiling cracks.
The Types of Ceiling Cracks
While it may look like they are, buildings are not stationary. Whether they’re made out of wood, concrete, steel, or any other type of material, all structures shift.
Although it’s pretty much impossible to perceive, this kind of movement is brought about by a wide variety of factors.
The aforementioned settling, which takes place as time passes by, is just one of them. Another one, for example, would be the seasonal changes in the temperature, which affect the soil underneath the building and cause it to expand and shrink.
This is precisely why some types of ceiling cracks are to be expected, i.e. not all of them are a cause for major concern.
Unfortunately, some types of ceiling cracks indicate compromised structural integrity. In any case, it’s important to learn as much as possible about all of them so that you can fix each type in an adequate way.
Check our guide on how to clean gutters as well.
Large & Deep Cracks due to Bowed Ceiling
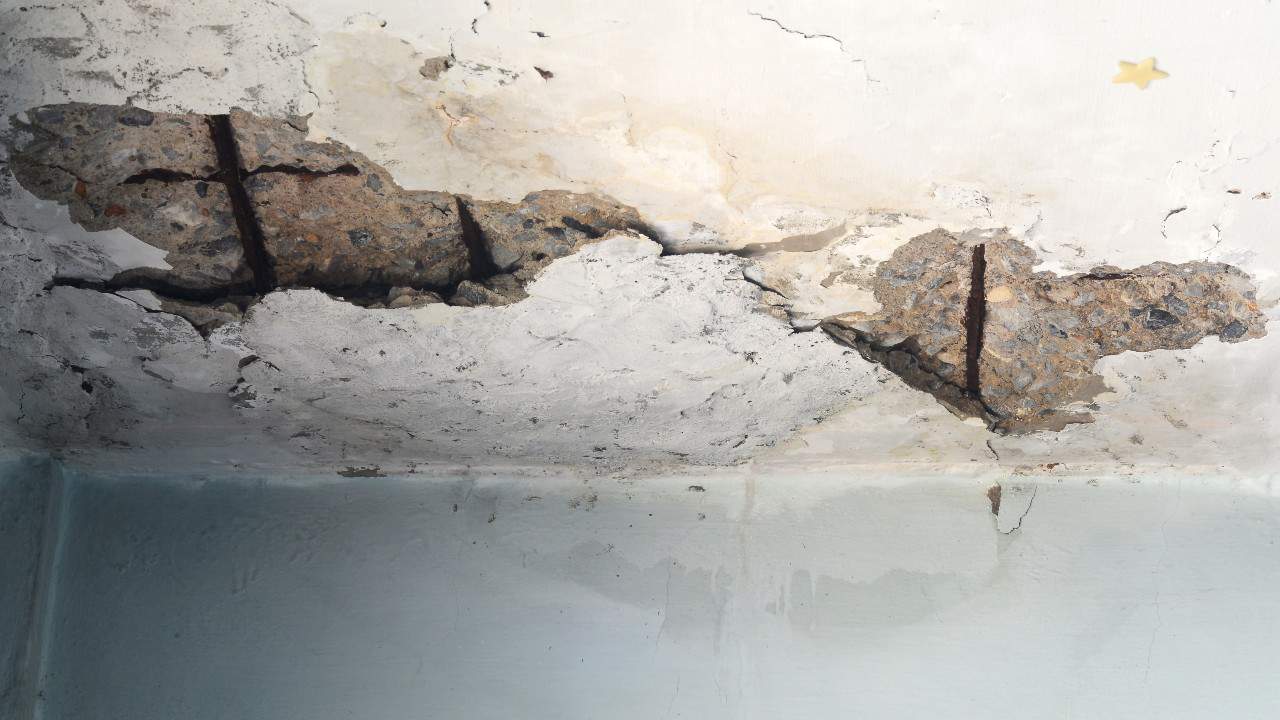
If there is one good indication of a major structural issue, it’s when you have sagging or deep cracks in the bow and ceiling.
There are many things that can cause these dangerous ceiling cracks, such as excessive weight on the floor above, substantial foundation settling, as well as extensive water damage.
Have you recently removed a load-bearing wall? If that’s the case, keep in mind that removing a load-bearing wall without adding some extra support can and most likely will lead to a full or partial ceiling collapse.
And since a full ceiling collapse is quite possible in this kind of a situation, you have to do something related to the above floor – immediately remove anything that’s on it, that is.
And once you’ve done that, make sure to contact a structural engineer so that they can inspect the crack and recommend an adequate solution. A bowed ceiling is not something you want to underestimate.
Cracks Between the Ceiling and the Wall
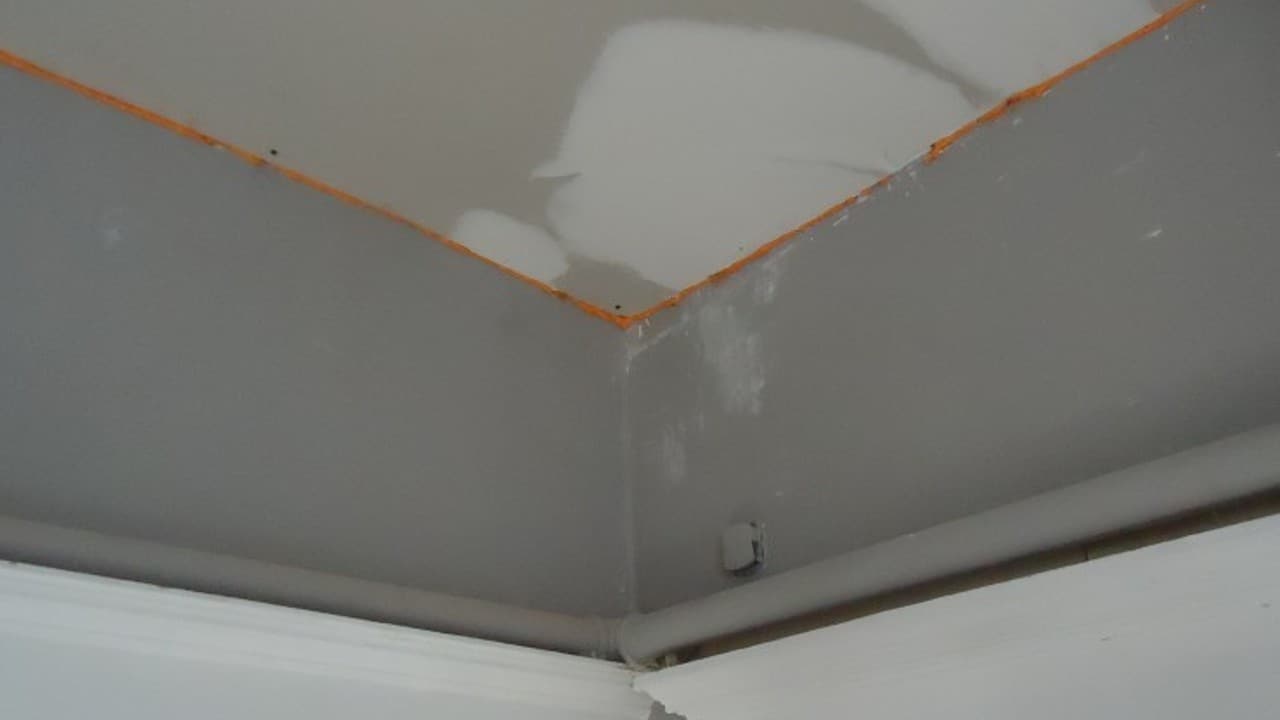
The kinds of cracks caused by truss uplift are the ones located between the ceiling and an adjacent wall.
The roof trusses used in buildings are designed in such a way that they shift and move as the wood expands due to changes in humidity and heat. However, they can sometimes shift to such a degree that they cause a truss uplift, i.e. they lift the ceiling away from the walls.
Another thing that can cause the trusses to shift too much and consequently lift the ceiling is an intensive windstorm.
If something like this happens to your household, you may notice a gap between the ceiling and the wall. This is especially common when drywall is installed inadequately on a non-load-bearing wall.
Due to the fact that these kinds of cracks aren’t caused by structural issues, fixing them is relatively easy. All you need to do is install crown molding along with the ceiling or cover the cracks with a layer of paint.
I would recommend hiring a professional to complete these tasks for you, though.
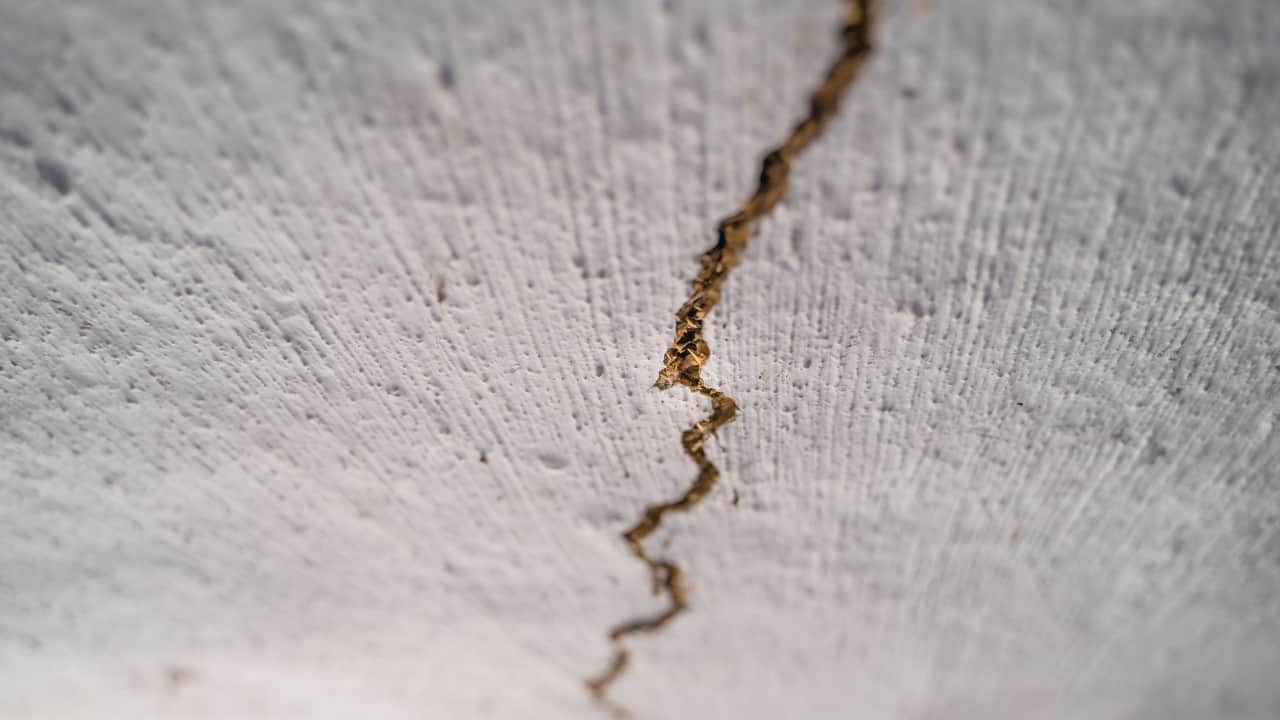
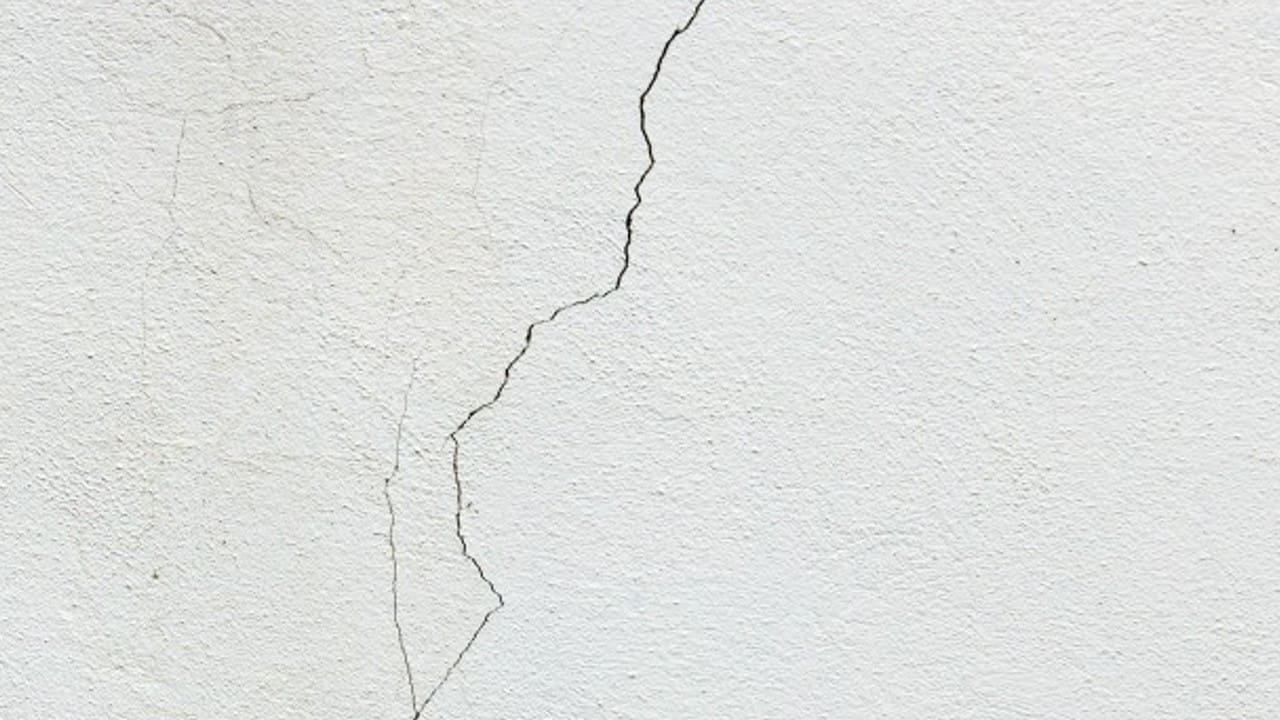
Straight Cracks
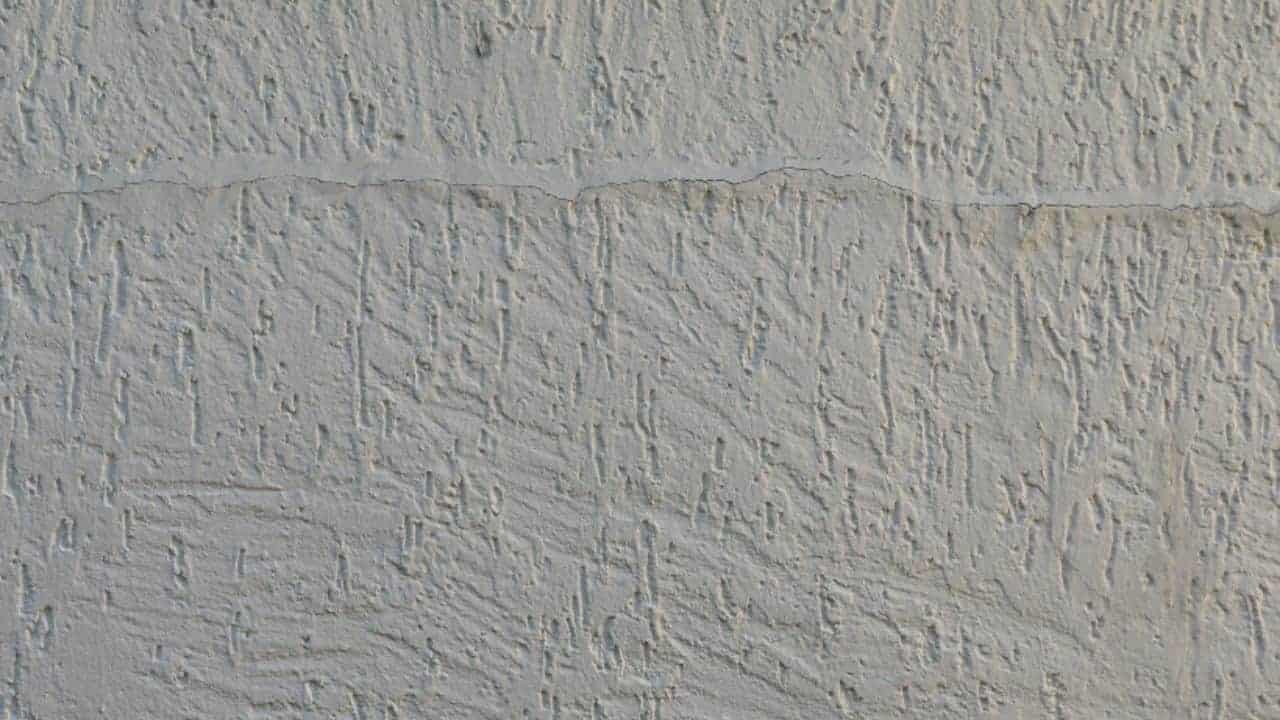
This kind of crack will look like a straight line. In most cases, straight cracks are the result of drywall mud issues and inadequate taping that occur during drywall installation. They are often referred to as horizontal or vertical cracks.
Failing to apply a correct amount of mud will almost certainly prevent the tape from properly sticking to the joints. This typically causes the tape to start pulling away, which then usually leads to the appearance of cracks in the ceiling plaster.
Other common causes behind straight cracks include foundational settling and excessive humidity.
Due to the fact that these kinds of cracks are superficial in nature, repairing them is relatively easy. To make sure that the drywall tape will stick to the joints properly, make sure to apply some drywall compound.
An important thing to mention here is that doing this won’t always work – sometimes, replacing the tape completely is the only solution. Here’s how to do that:
- Remove the loose tape with the help of a razor knife;
- Sand the surface underneath the tape. Avoid sanding into the drywall paper;
- Apply a thin layer of drywall compound by using a putty knife and then put a new strip of tape over it;
- Allow the aforementioned compound to dry completely before sanding again.
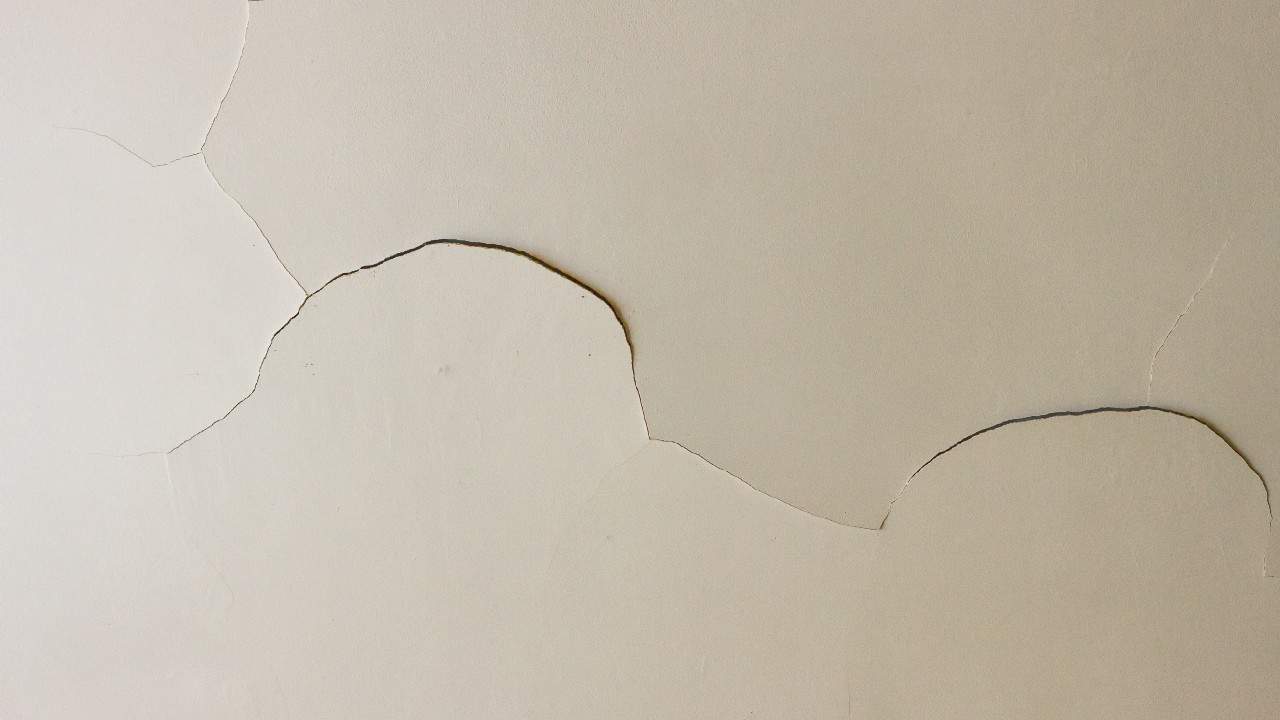
Spiderweb Cracks

As their name suggests, these kinds of the ceiling (and wall) cracks have an appearance that is very similar to that of a spiderweb. They are most commonly caused by cracking paint (or plaster) and foundational settling.
This kind of crack will have a central point and a few very thin cracks going from it in all directions. Applying the drywall compound too quickly can often result in these thin cracks that resemble a spiderweb since the compound shrinks as it dries.
The presence of spiderweb cracks can indicate that there’s a serious or structural issue. This, however, depends on their size – spiderweb cracks that are smaller than 1/16th of an inch can’t really cause any severe structural problems or compromise your home’s structural integrity.
In most cases, fixing these kinds of ceiling cracks is quite easy. You only have to sand off the existing compound and replace it with a new one.
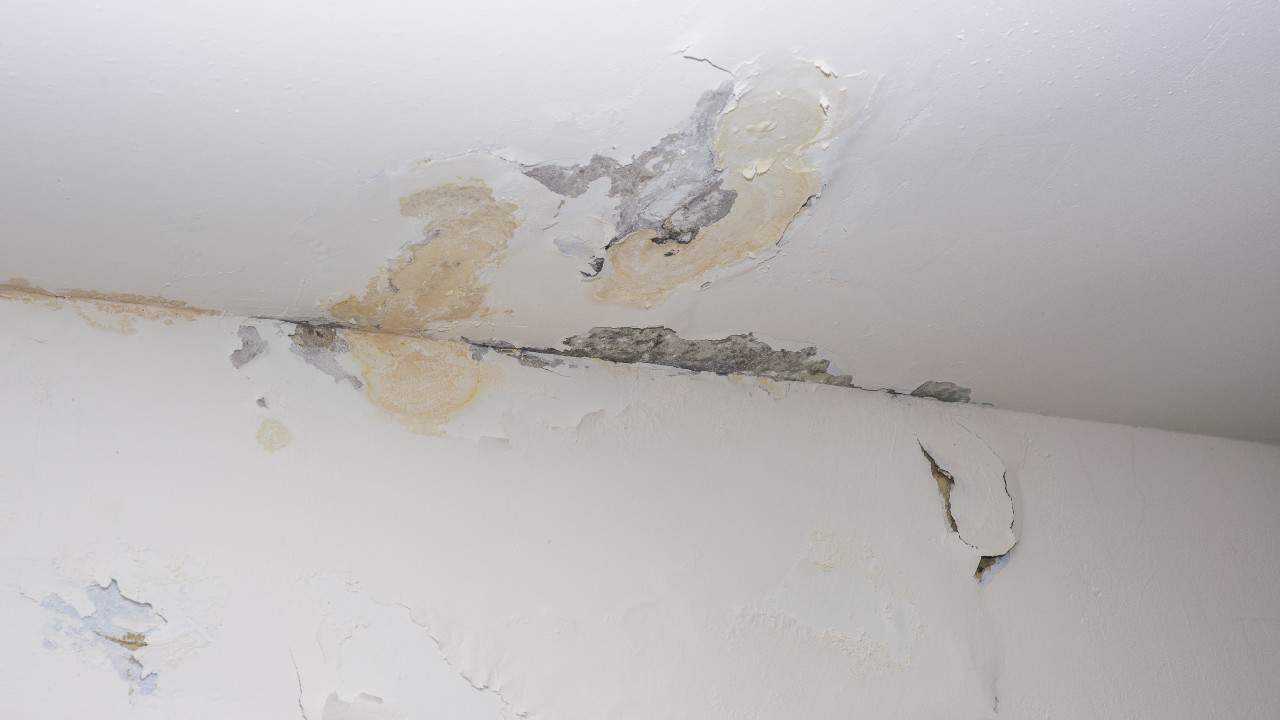
Brown or Yellow Cracks
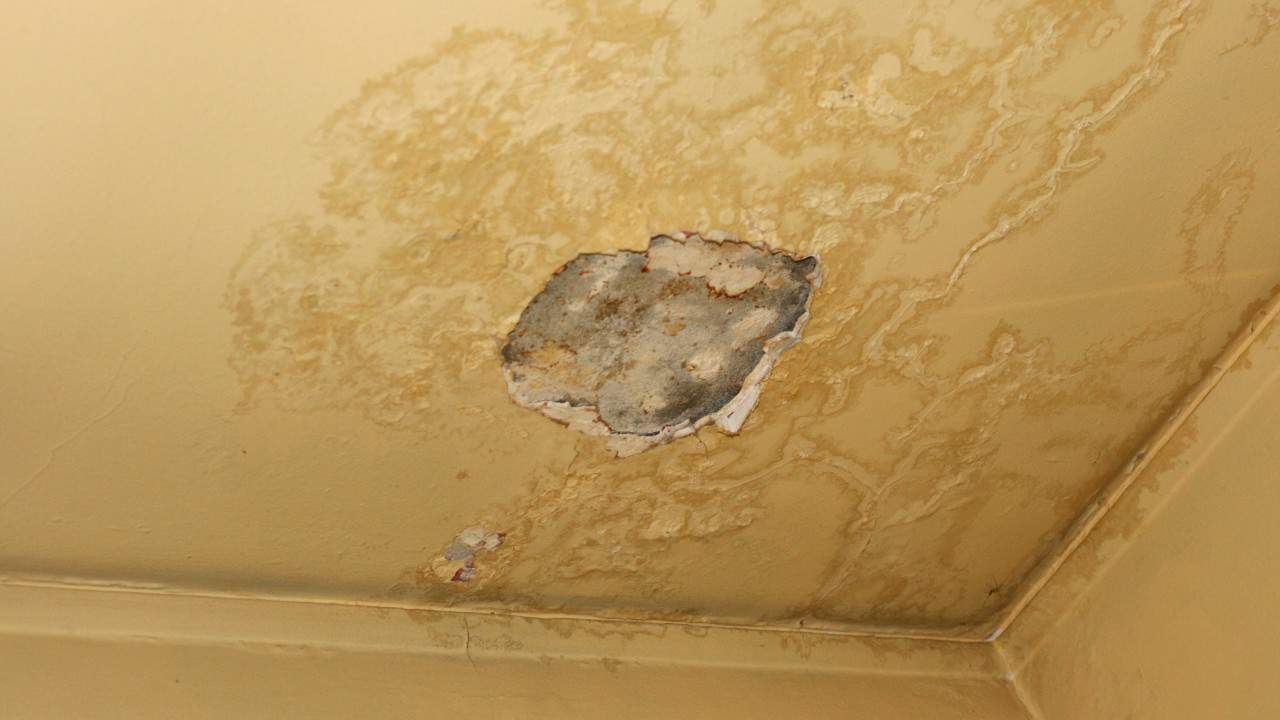
If you’ve noticed discolored cracks on the ceiling, you are almost certainly dealing with a water leak.
One of the best indicators of moisture damage is when a ceiling crack has a brownish or yellowish tinge at its edges. If this is the case in your situation, you will, obviously, have to check if there’s water at places where there should be none.
Locating and addressing this leak – which could lead to all sorts of structural problems – has to be done before repairing the drywall panels.
And when it comes to these kinds of ceiling cracks, the best course of action is to hire a professional – the last thing you want is to just ignore it and then deal with costly structural issues later.
Once the problem that was causing the water leak has been dealt with, the ceiling will have to be properly repaired. However, an important thing to keep in mind here is that the ceiling drywall must be allowed to dry out completely before you attempt to do any kinds of repairs on it.
In case the affected area is too large or if the drywall is completely saturated, you’ll have no other choice but to replace the drywall in those sections.
Removing the Drywall
Find the spot where the molding meets the drywall and start cutting with a knife. After that, you will have to make some holes in the center of the drywall – do this with a small mallet or a sledgehammer.
Be very careful while doing this. In order to avoid causing further structural damage, it’s vital that you don’t hit the ceiling joists. Once you’ve created a hole of sufficient size, remove the remaining drywall with the help of a crowbar.
Replacing the Ceiling Drywall
The next thing you’ll have to do after removing the drywall is sanding – make those edges as straight and clean as possible. You will have to use t-braces and specialized drywall adhesive to stick the drywall to the ceiling joists and keep it in place.
As the adhesive cures, the t-braces will be holding the drywall to the ceiling.
Hairline Cracks
The hairline ceiling cracks are typically very small cracks – their size usually stands at just 1/16th of an inch.
The most important thing you need to know about them is they are very rarely dangerous. While it’s true that they can look unnerving, they are cosmetic in nature. Hairline cracks are almost always caused by old plaster or paint over drywall.
When you just keep painting over a wall without bothering to first remove the old paint underneath, you’re bound to encounter issues at some point. As it curls and dries, the old paint can bring about the appearance of hairline cracks by causing the top layer to splinter.
The changes in humidity and temperature, on the other hand, can negatively affect the plaster over drywall and cause it to swell or contract. This typically leads to the appearance of small cracks.
However, as I said above, hairline cracks are very rarely a cause for serious concern. They can easily be taken care of with a couple of minor cosmetic touch-ups.
You can either ignore them completely or apply a fresh coat of paint over them.
The Takeaway
Knowing the exact type of ceiling cracks you’re dealing with is essential and can make a huge difference – it will allow you to repair them in the best way possible from a structural standpoint.
Occasionally, ceiling cracks can lead to pretty severe structural issues, so it’s best to take care of them immediately and remove the worries.
Smaller ceiling cracks are rarely serious and homeowners can usually take care of them on their own. Deeper and larger cracks, on the other hand, suggest potential structural problems and should be left in the hands of adequately-trained professionals.
If you’re lucky, however, all you’ll need to fix the cracks on your ceiling is a putty knife and some drywall tape. I would still recommend contacting a professional to get a second opinion, though.
Check out our pick for the best portable air conditioner as well. You may also want to check out our guide on how to insulate garage ceiling rafters.